Reports and exports
Touch2build produces reports from the tasks: site visit minutes, snag lists per company, Excel tables… Reports are generated in the background and stored in the Documents section.
The aim: pass the information from the site to people who do not use Touch2build, or keep a record of it, without retyping anything.
Export tasks
Every report starts from the task list: what you filter is what you export.
- In Tasks, apply the filters you need, for example the open tasks of one company.
- Click Export.
-
Choose a format:
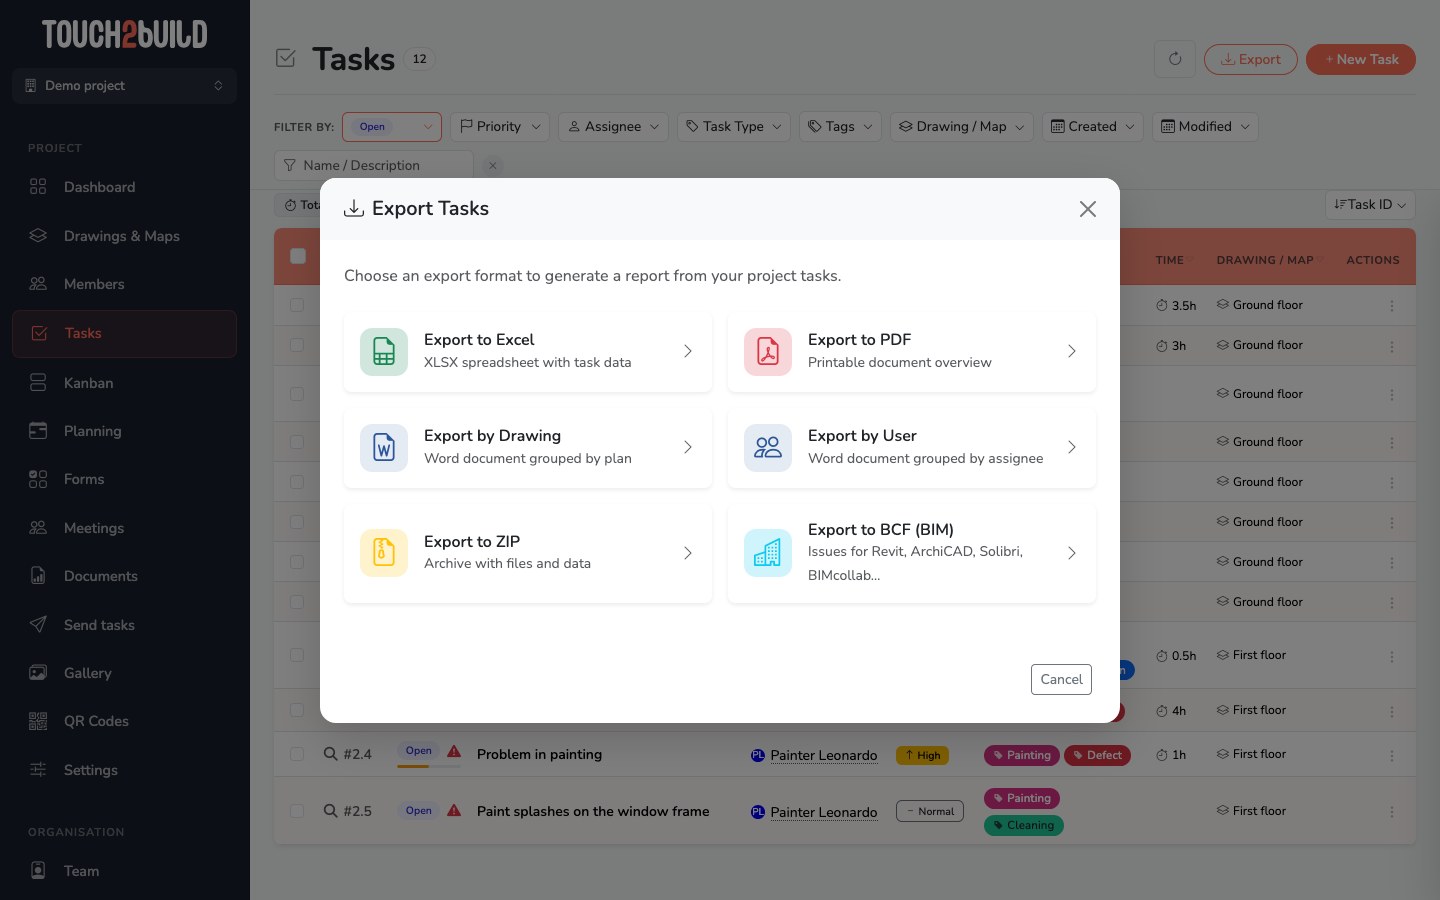
Format Content Export to Excel XLSX table of the tasks, to rework or filter. Export to PDF Your original PDF drawings, annotated with the tasks. See below. Export by Drawing Word document, tasks grouped by drawing. Export by User Word document, tasks grouped by assignee. Use it to send each company its snag list. Export to ZIP Archive with the descriptions, photos and drawings. Export to BCF (BIM) File for BIM software: Revit, ArchiCAD, Solibri, BIMcollab… -
Set the options, for example the content to include and sending by email.
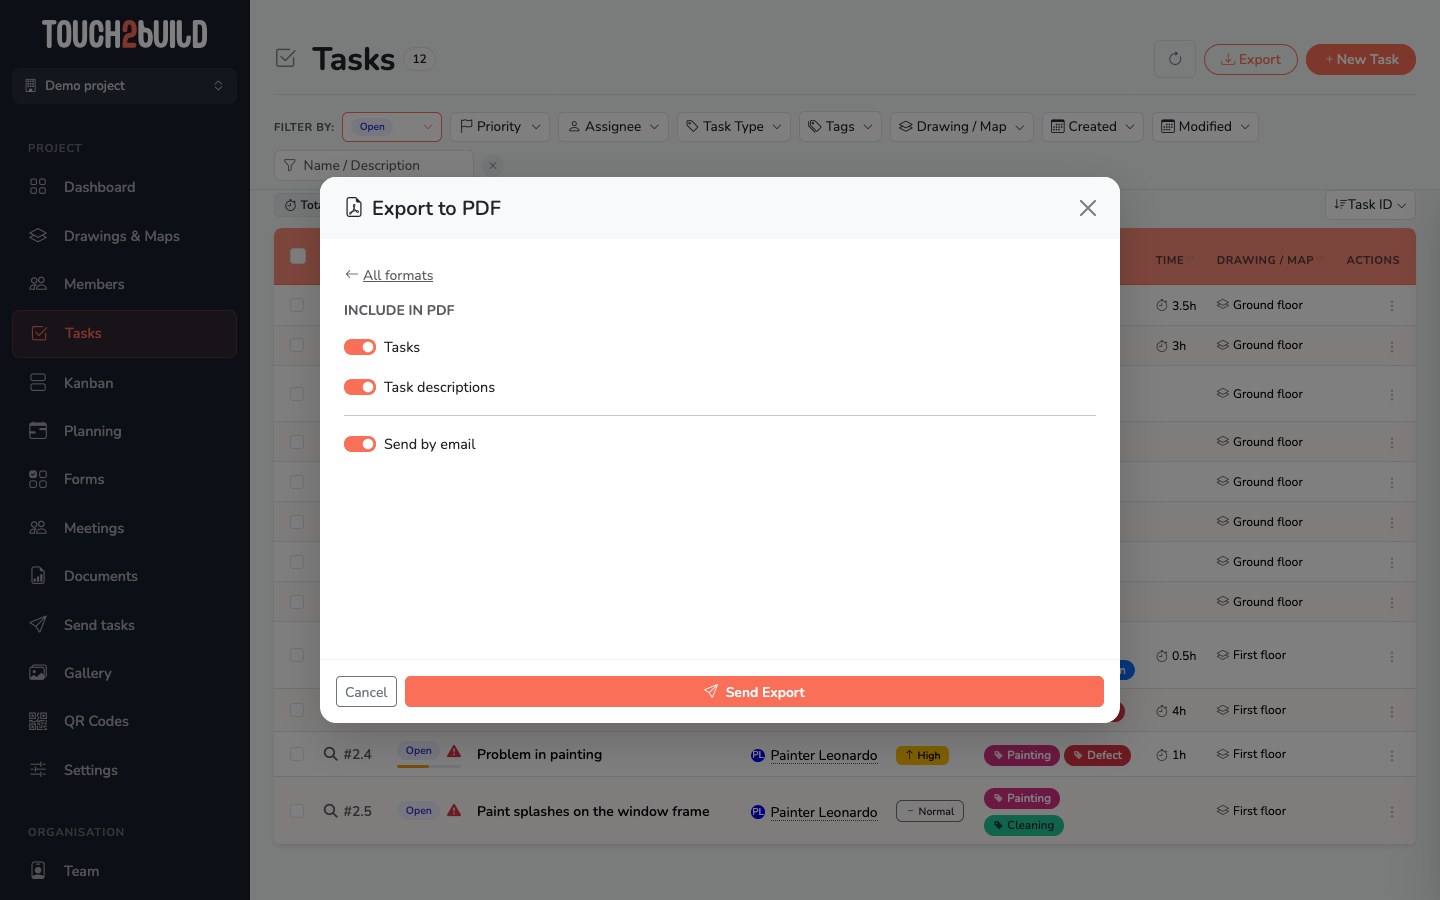
-
Click Send Export.
Receive the report by email
With the Send by email option, you receive the report as soon as it is ready, without coming back to Touch2build.
The Word exports: your minutes
Word exports produce a complete .docx document that you can edit in Word before sending:
- Export by Drawing: tasks grouped by drawing. Use it for the minutes of a site visit or meeting.
- Export by User: tasks grouped by assignee. Use it to send each company its own snag list.
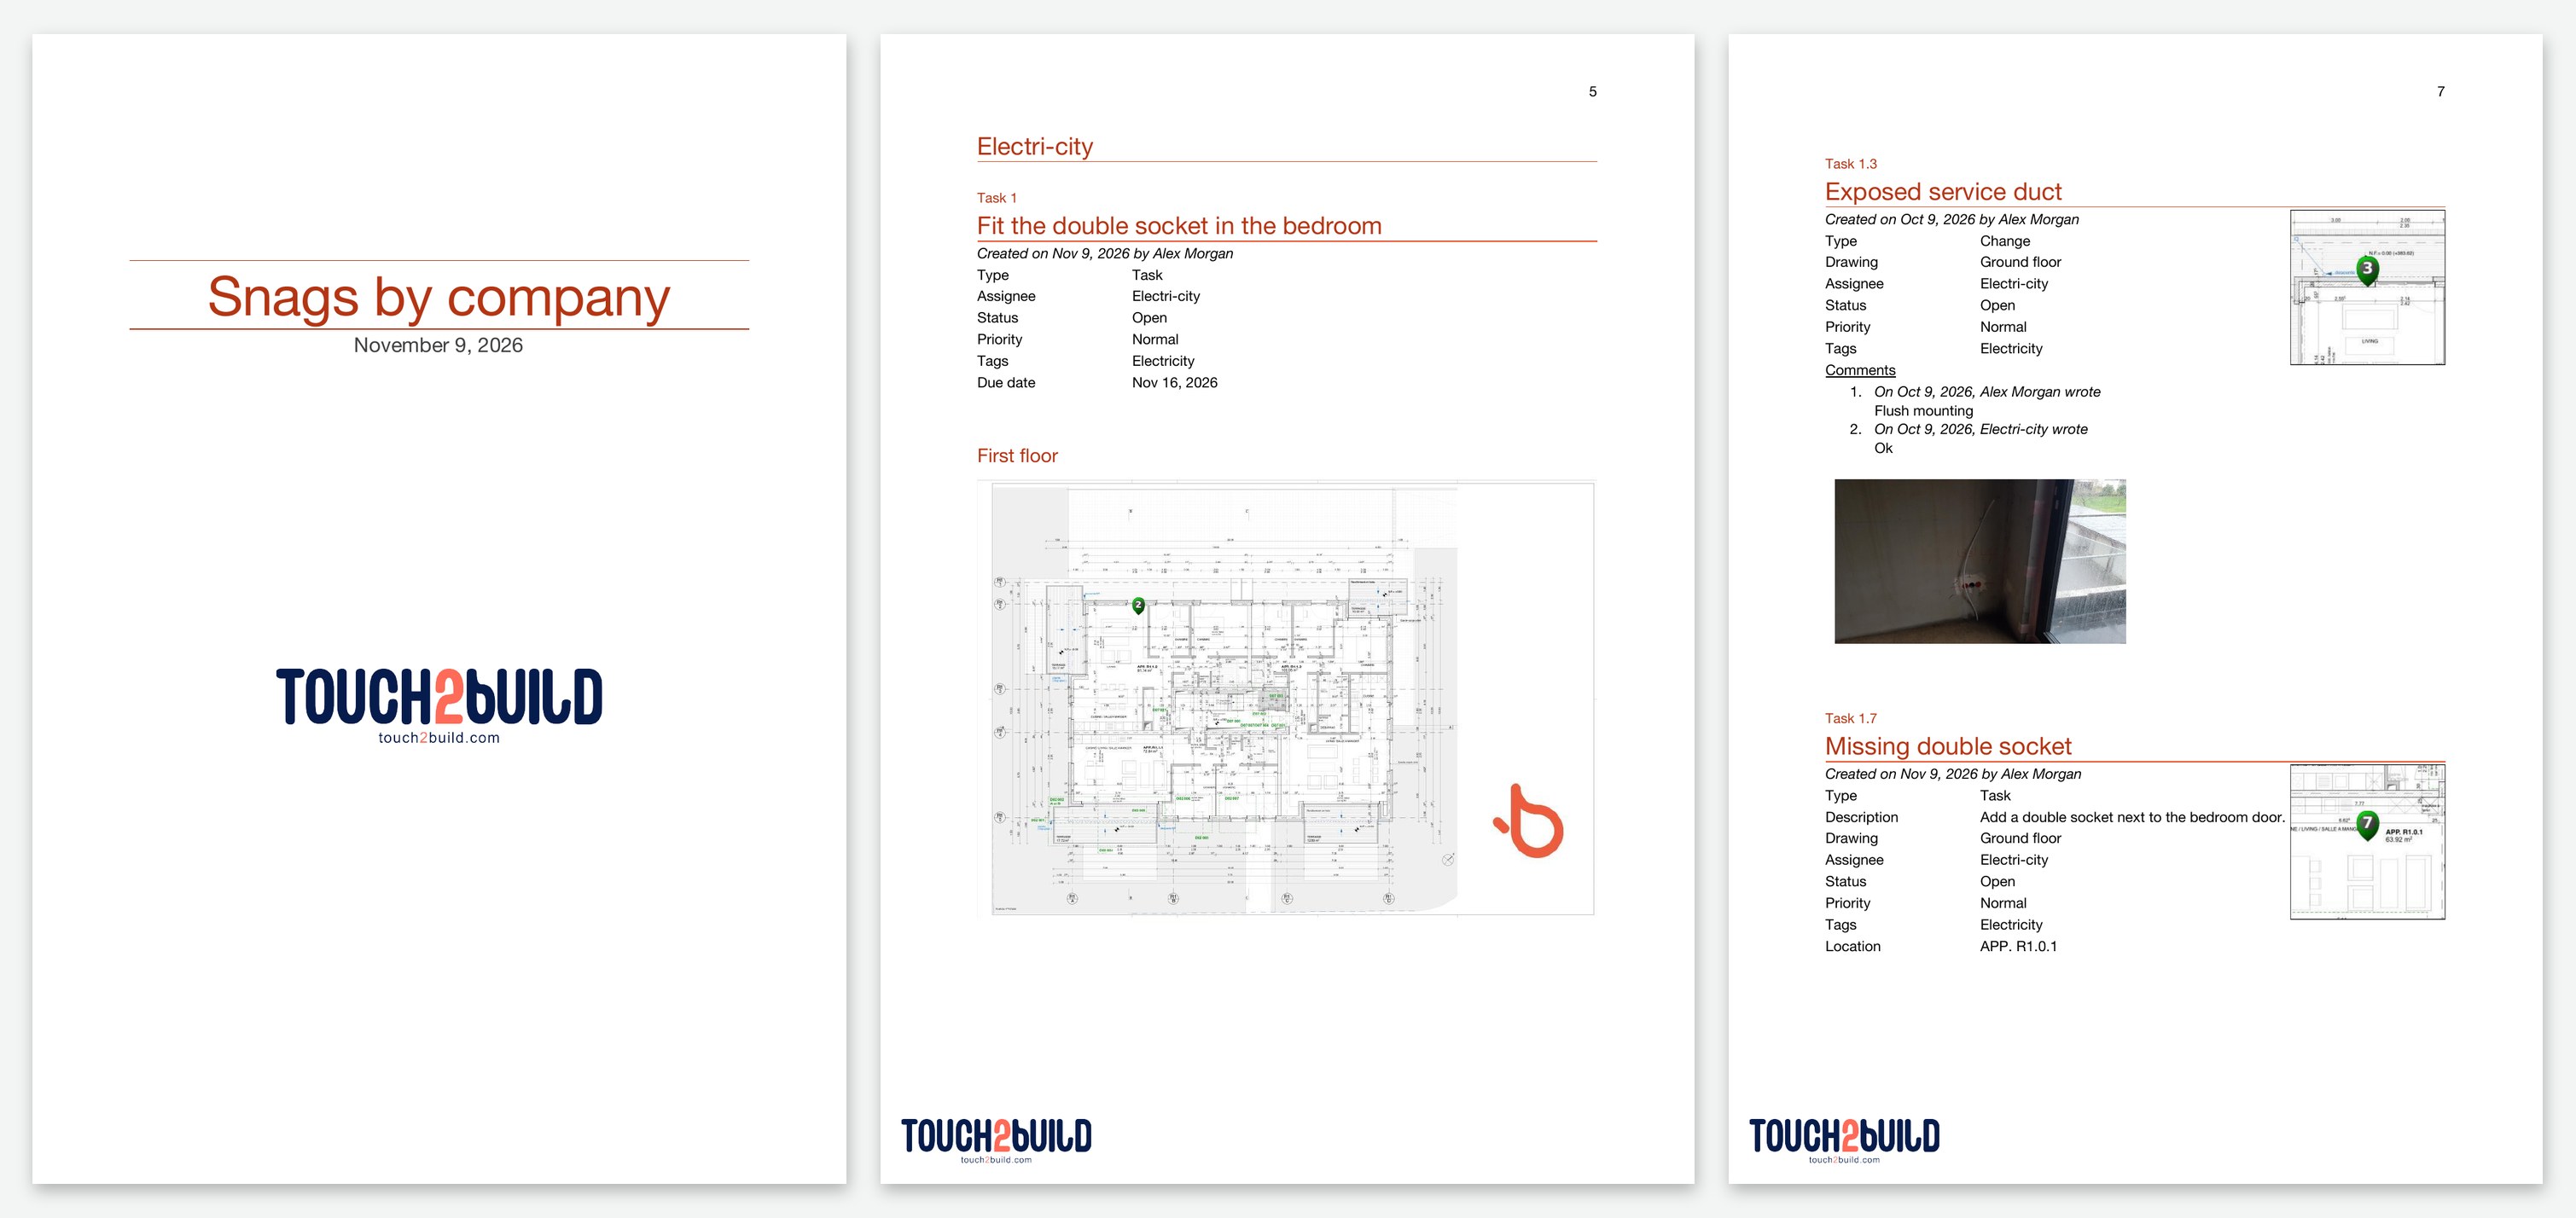
The document contains:
- a cover page with the title and the date;
- for each drawing, or each company, the drawing overview showing the location of all its tasks;
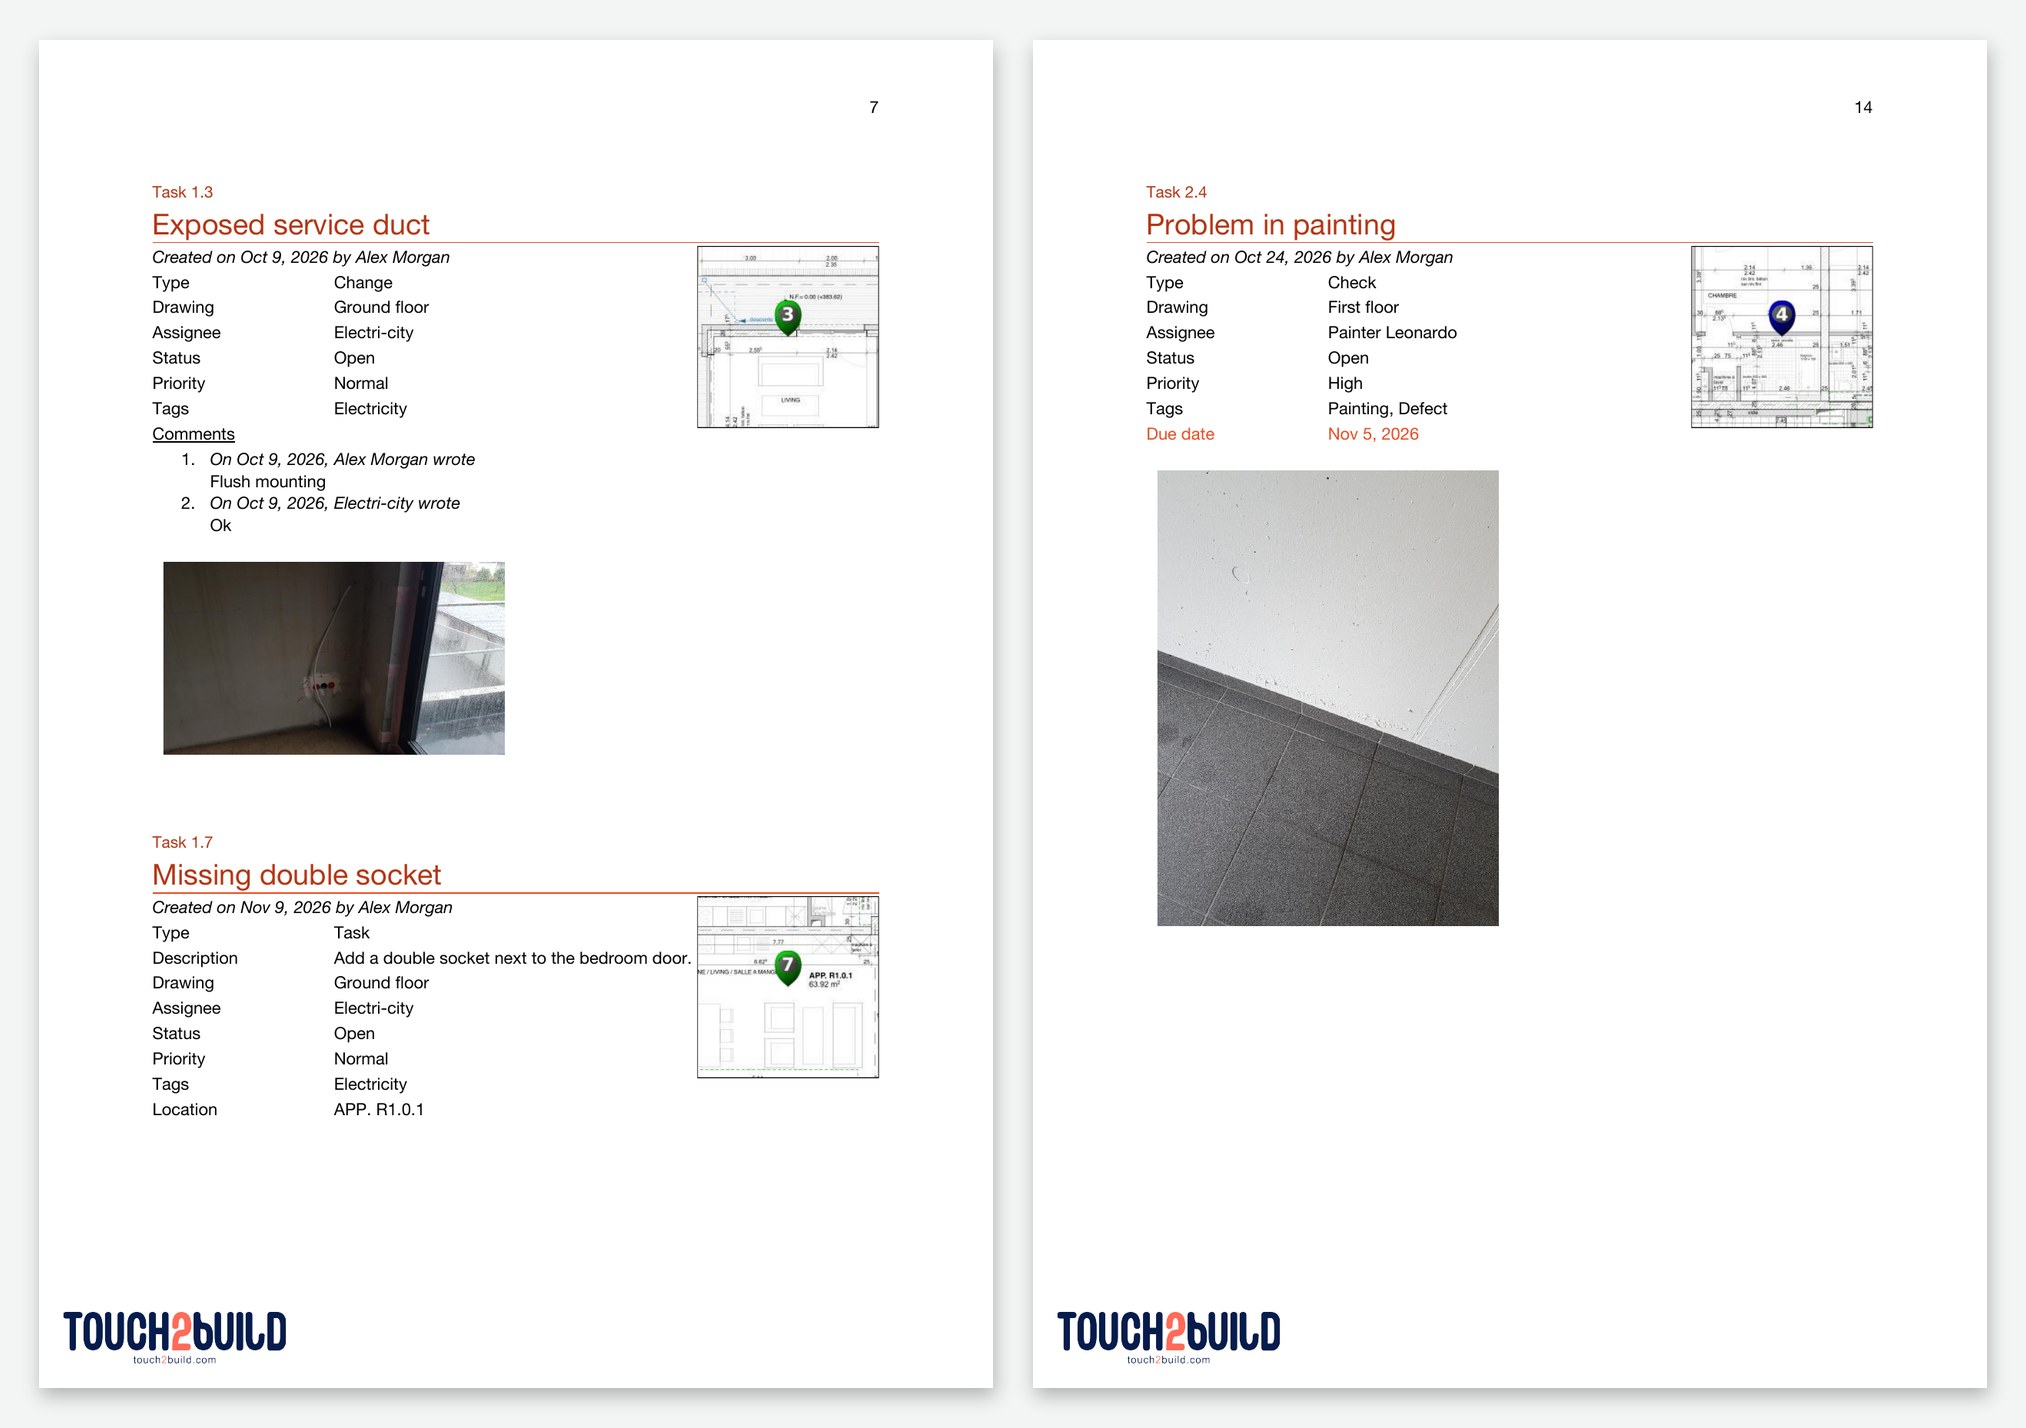
- one sheet per task: number, title, creator, type, drawing, assignee, status, priority, tags, due date in red if it has passed, location, comments, a zoom of the drawing centred on the task and the photos.
Set up the Word export
The export window has three tabs.
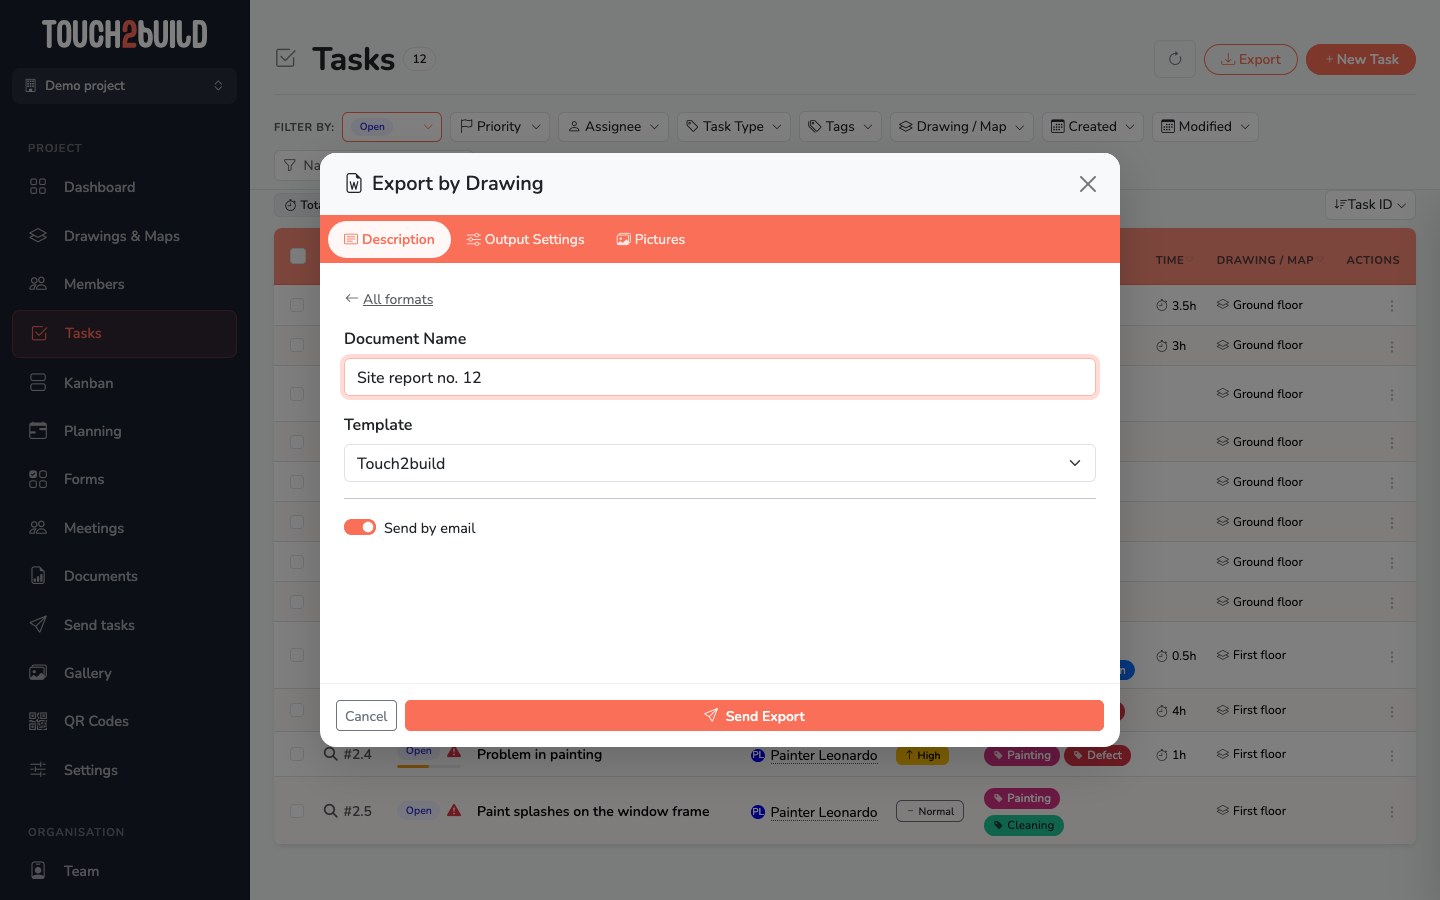
- Document Name: the title of the cover page, for example Site meeting minutes no. 12.
- Template: the layout of the document. Choose Touch2build or a template in your colours: see Templates.
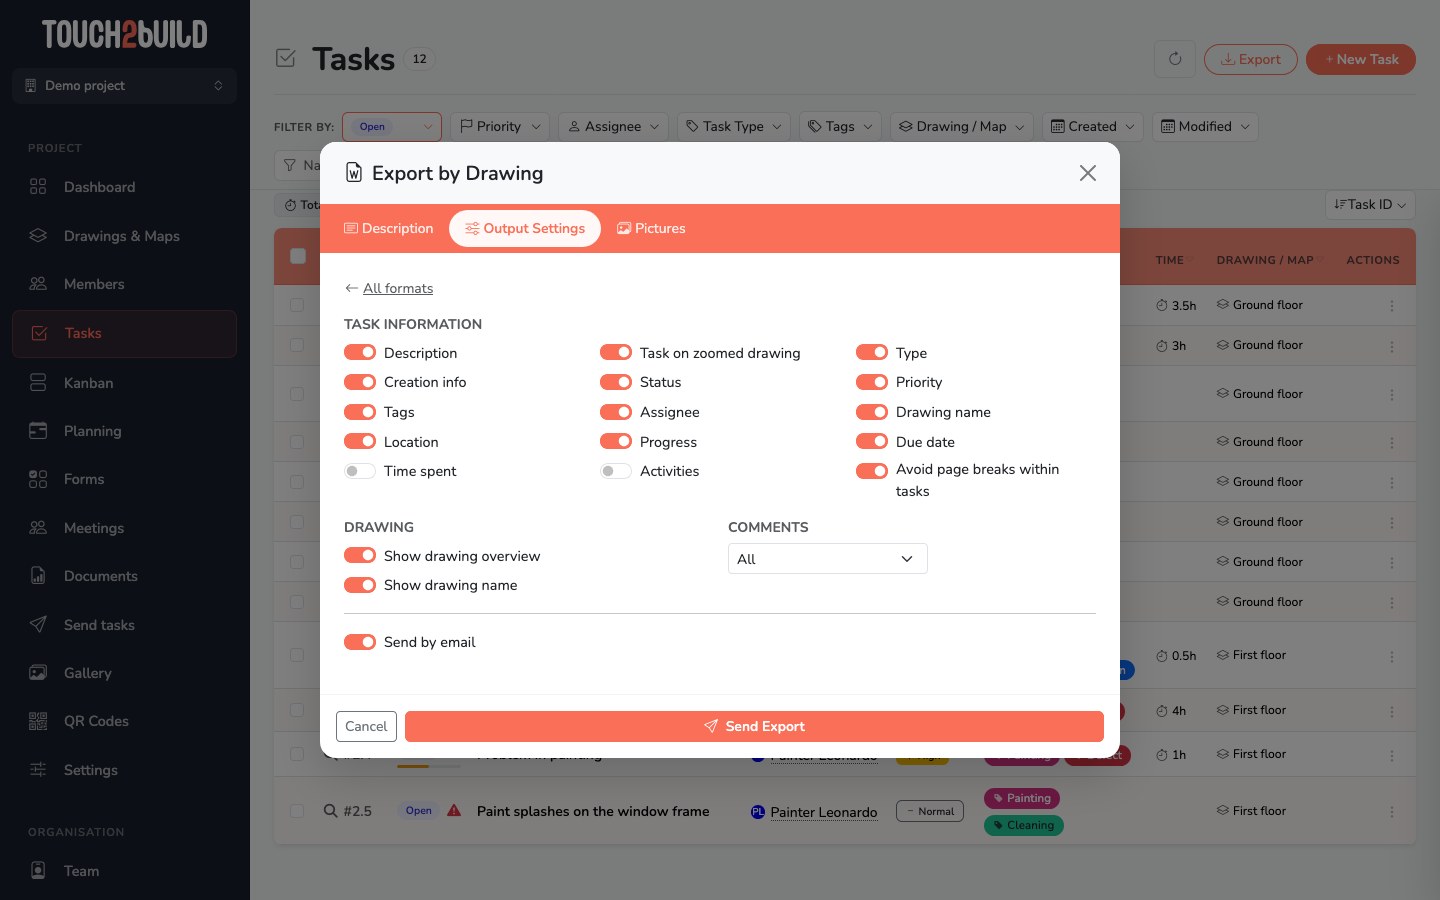
- Task Information: choose the fields to show in each sheet. Task on zoomed drawing adds the thumbnail of the drawing centred on the task. Activities adds the full history. Avoid page breaks within tasks keeps each sheet on a single page.
- Drawing: show the overview of each drawing and its name, or not.
- Comments: All, Last only or None.
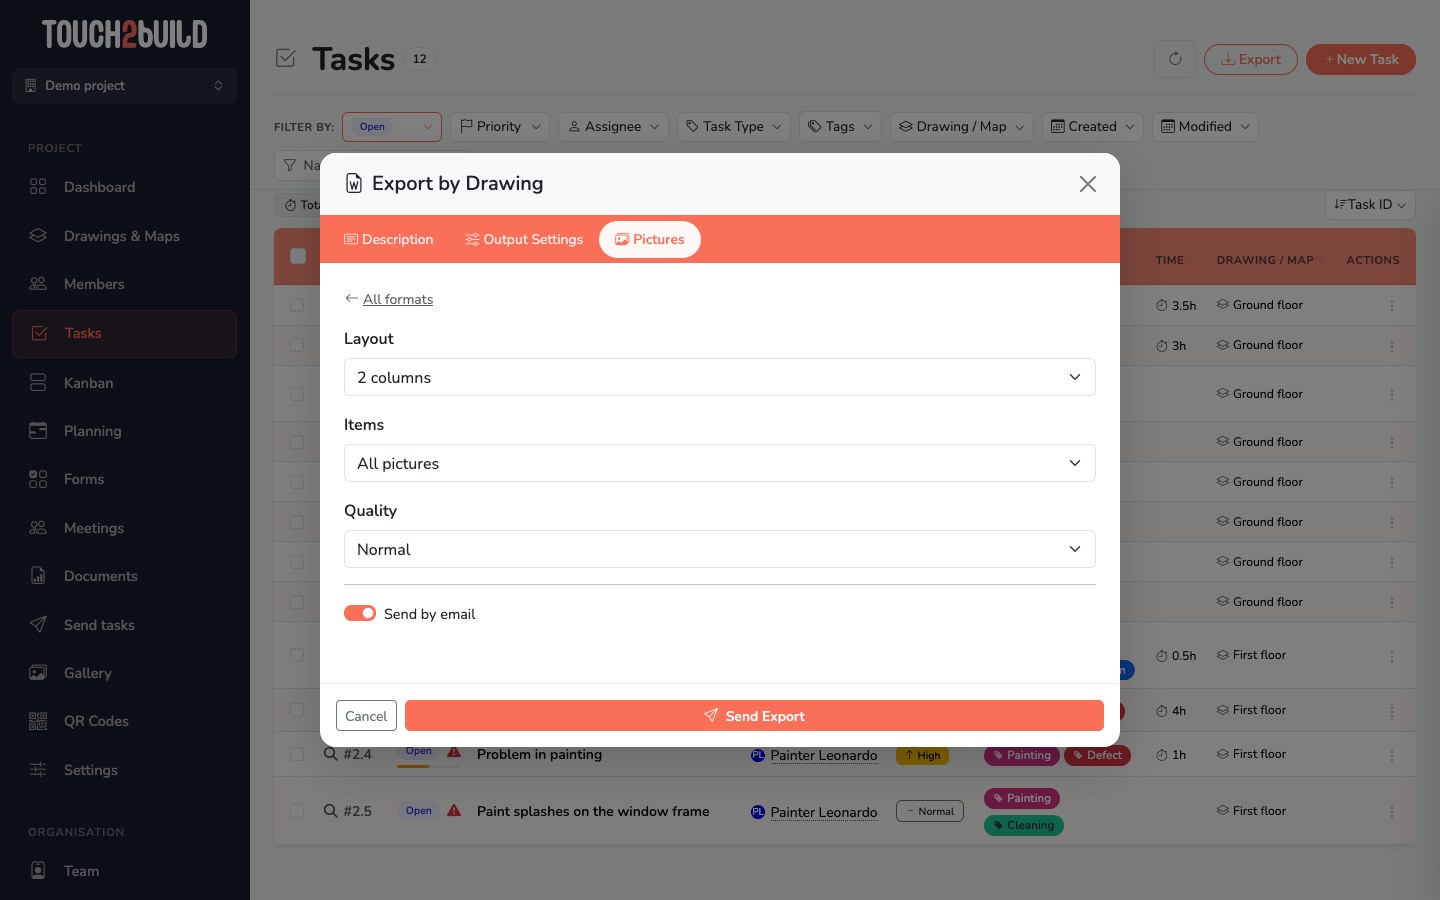
- Layout: number of photos per row, from 1 to 4 columns.
- Items: all the pictures, or only the first or the last of each task.
- Quality: low, normal or high. Low quality gives a lighter file to send by email.
Send each company its list
- In Tasks, filter on the Assignee you want and the Open status.
- Run Export by User.
- Pass the document on to the company.
Repeat for each company, or export all the companies at once: each one has its own section in the document.
The PDF export: your annotated drawings
The PDF export takes the project's original PDF drawings, at their scale, and adds the tasks at their exact location. You get a set of annotated drawings to print in large format, attach to minutes or pass on to a company.
The options:
- Tasks
- The task pins, placed on the drawings.
- Task descriptions
- Pages describing the tasks, added to the document.
Tasks are arranged in layers in the PDF: by status (open, resolved, closed), then by assignee. In a reader such as Adobe Acrobat, you can show or hide each layer. For example, you can keep only the open tasks of one company before printing.
Note
Only tasks placed on a drawing appear on the drawings. For a complete list, with photos and comments, prefer the Word export by drawing or by user.
The Documents page
The Documents section gathers the reports, minutes and exports of the project. Everything Touch2build generates arrives there, wherever the export was started: this is where you find it and download it.
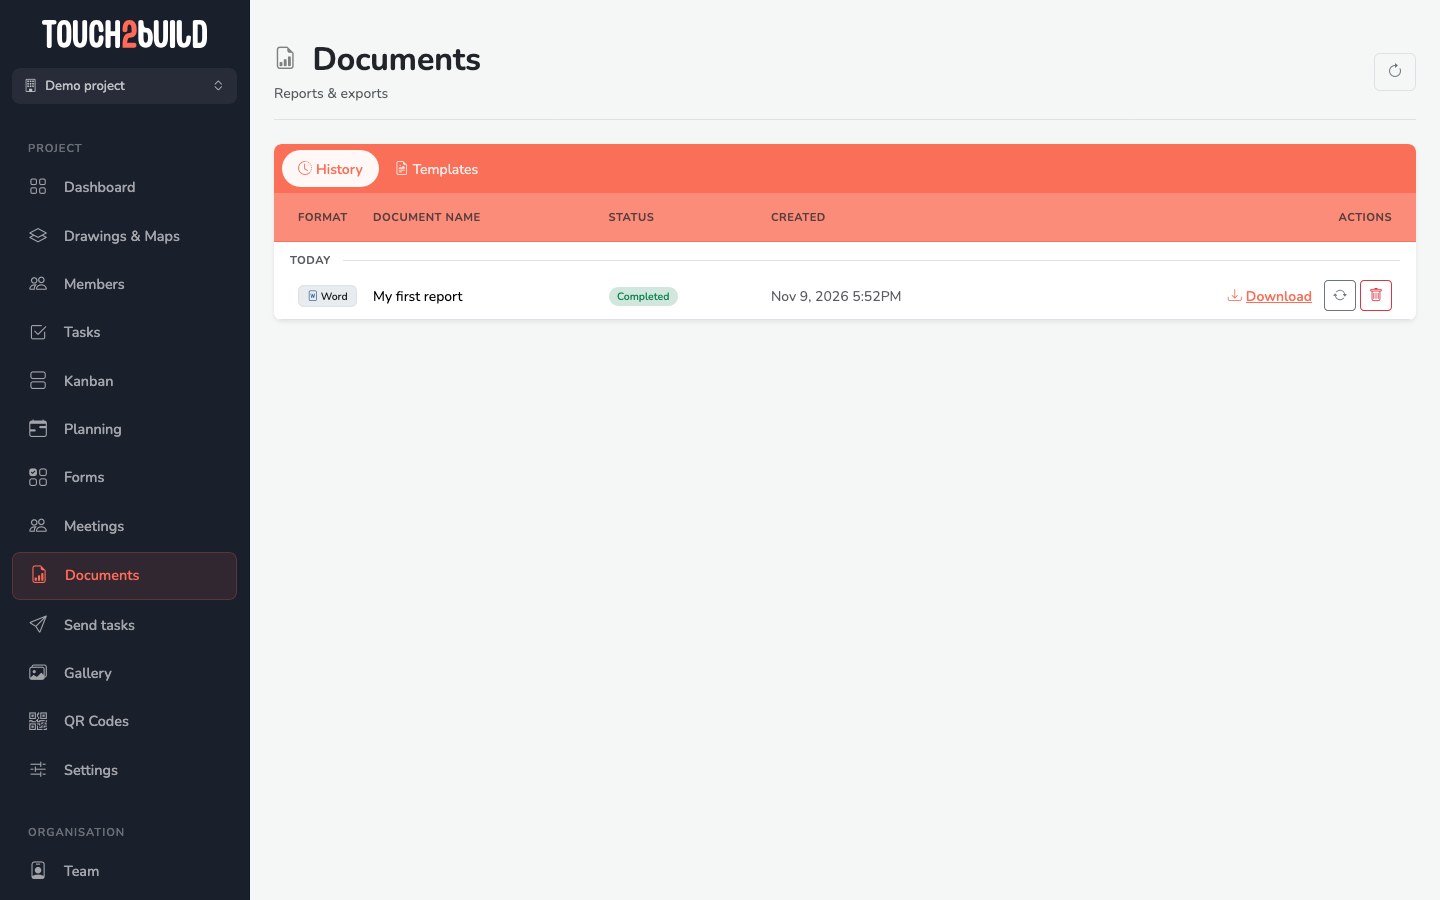
History
All the documents generated, with their format, name, status and date. Depending on the status, several actions are possible:
- Download the file;
- Re-run the generation with the same settings;
- Schedule Report: set up the same report so that it is produced regularly;
- Delete the document.
A badge next to Documents in the menu shows that an export is running or finished.
Files expire
Generated documents are kept for a few days only. Download them or re-run them if needed.
Scheduling
There is no separate tab for it: use Schedule Report on a document of the History tab. A scheduled report is produced automatically: every day, on weekdays, every week or every month, at the time you choose. This suits a weekly report sent before each site meeting.
Templates
Word and Excel reports use a template that sets the layout: header, footer, logo, font and colours. By default, it is the Touch2build template. In the Templates tab, you can create your own templates to deliver reports in your company's colours.
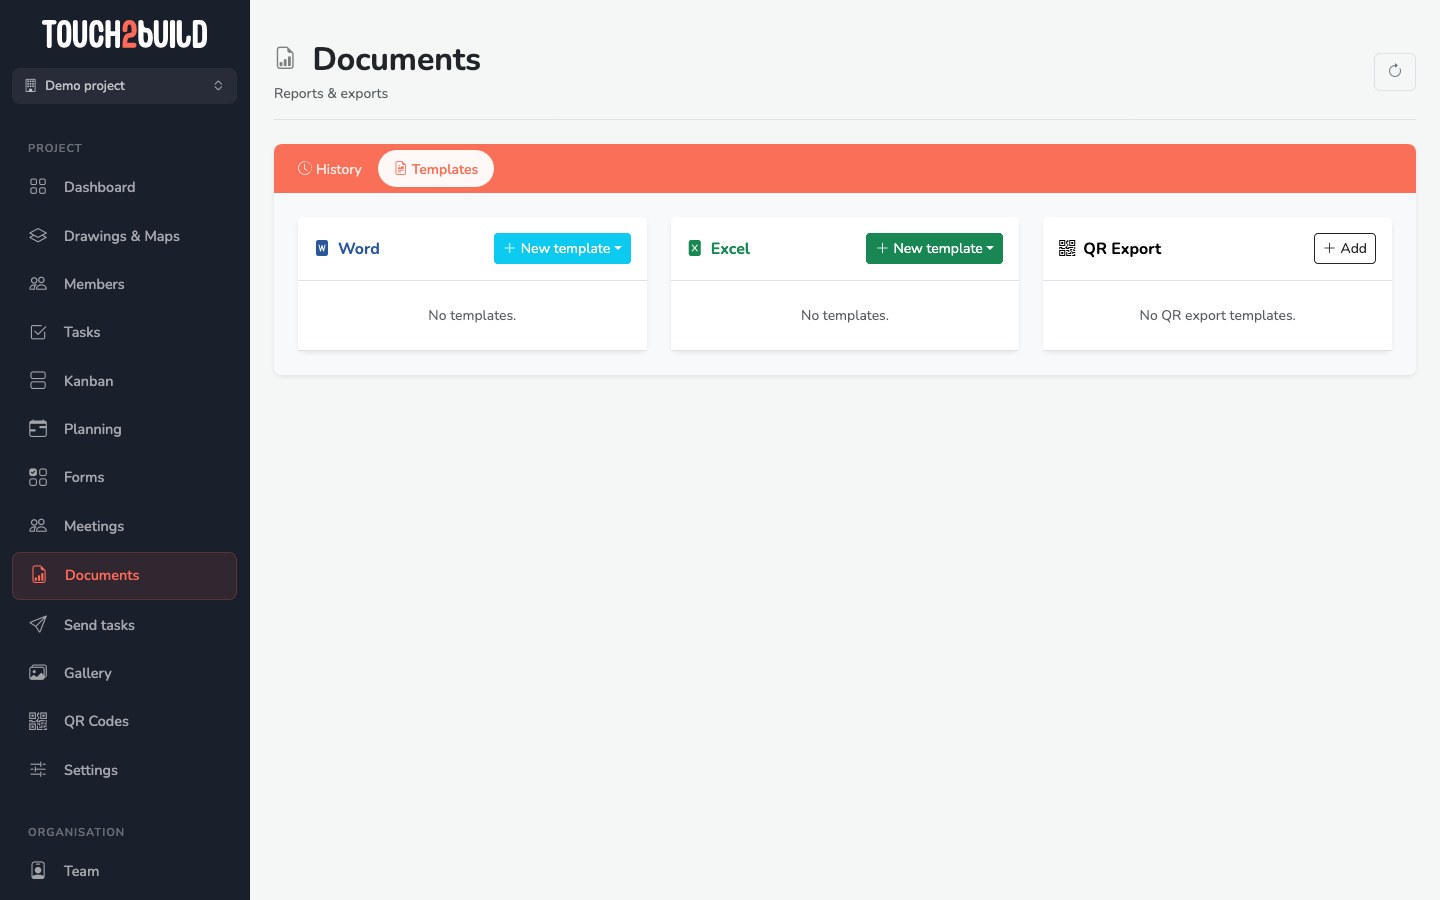
Generate a template with the wizard
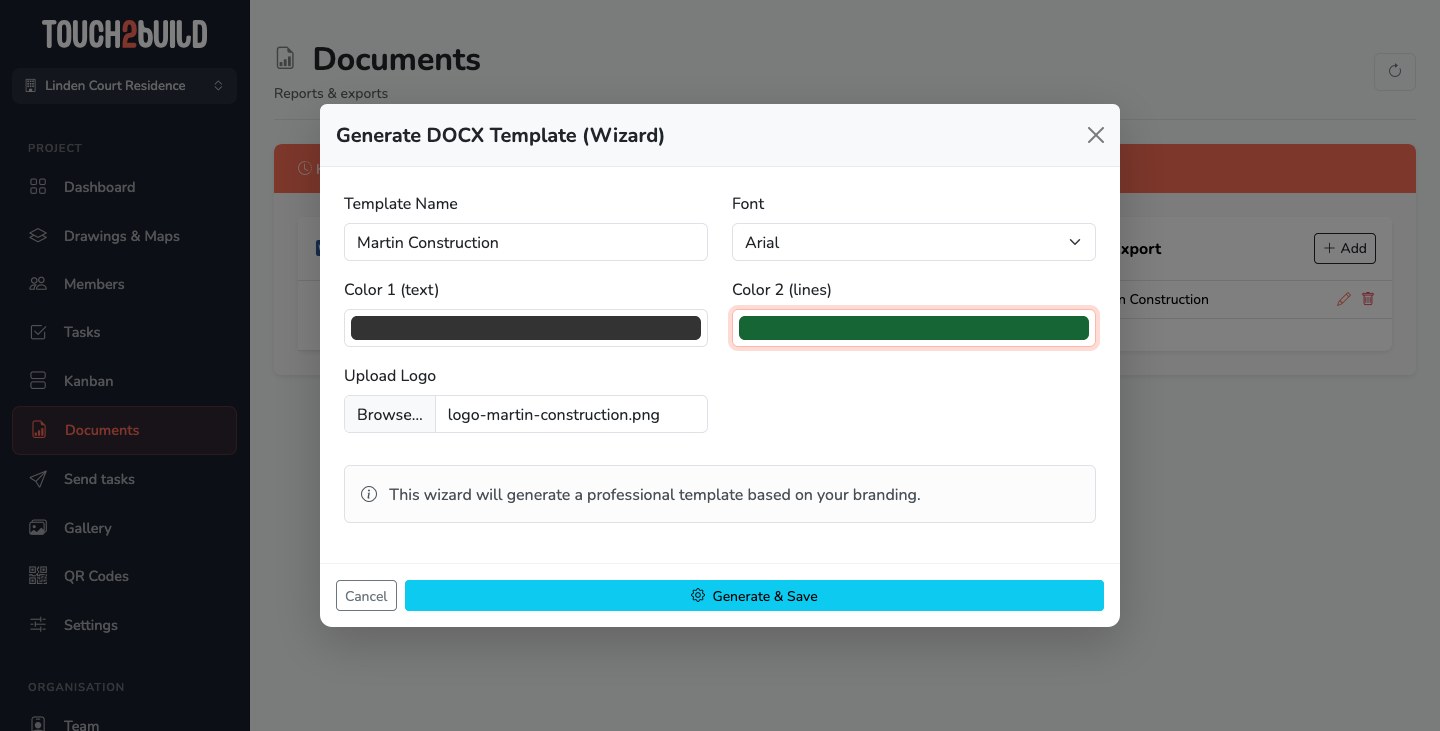
The simplest way is the Wizard, which creates a professional template in a few seconds, without opening Word.
- In the Word or Excel card, click Wizard.
- Enter the Template Name, for example your company name.
- Choose the Font.
- Choose Color 1 (text), for the text and titles, and Color 2 (lines), for the lines and rules.
- Click Upload Logo and choose your logo image.
- Click Generate & Save.
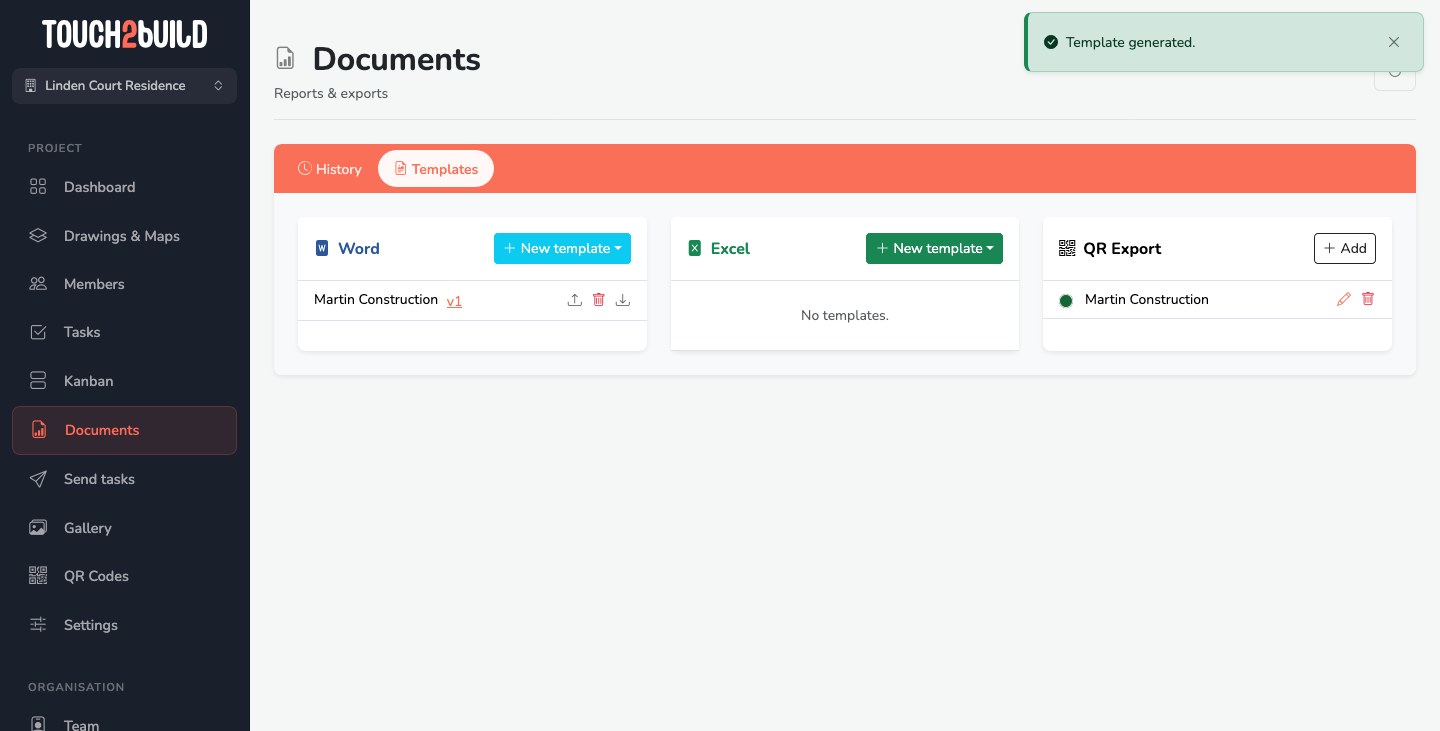
The template appears in the list. The icon lets you download it to adjust it in Word.
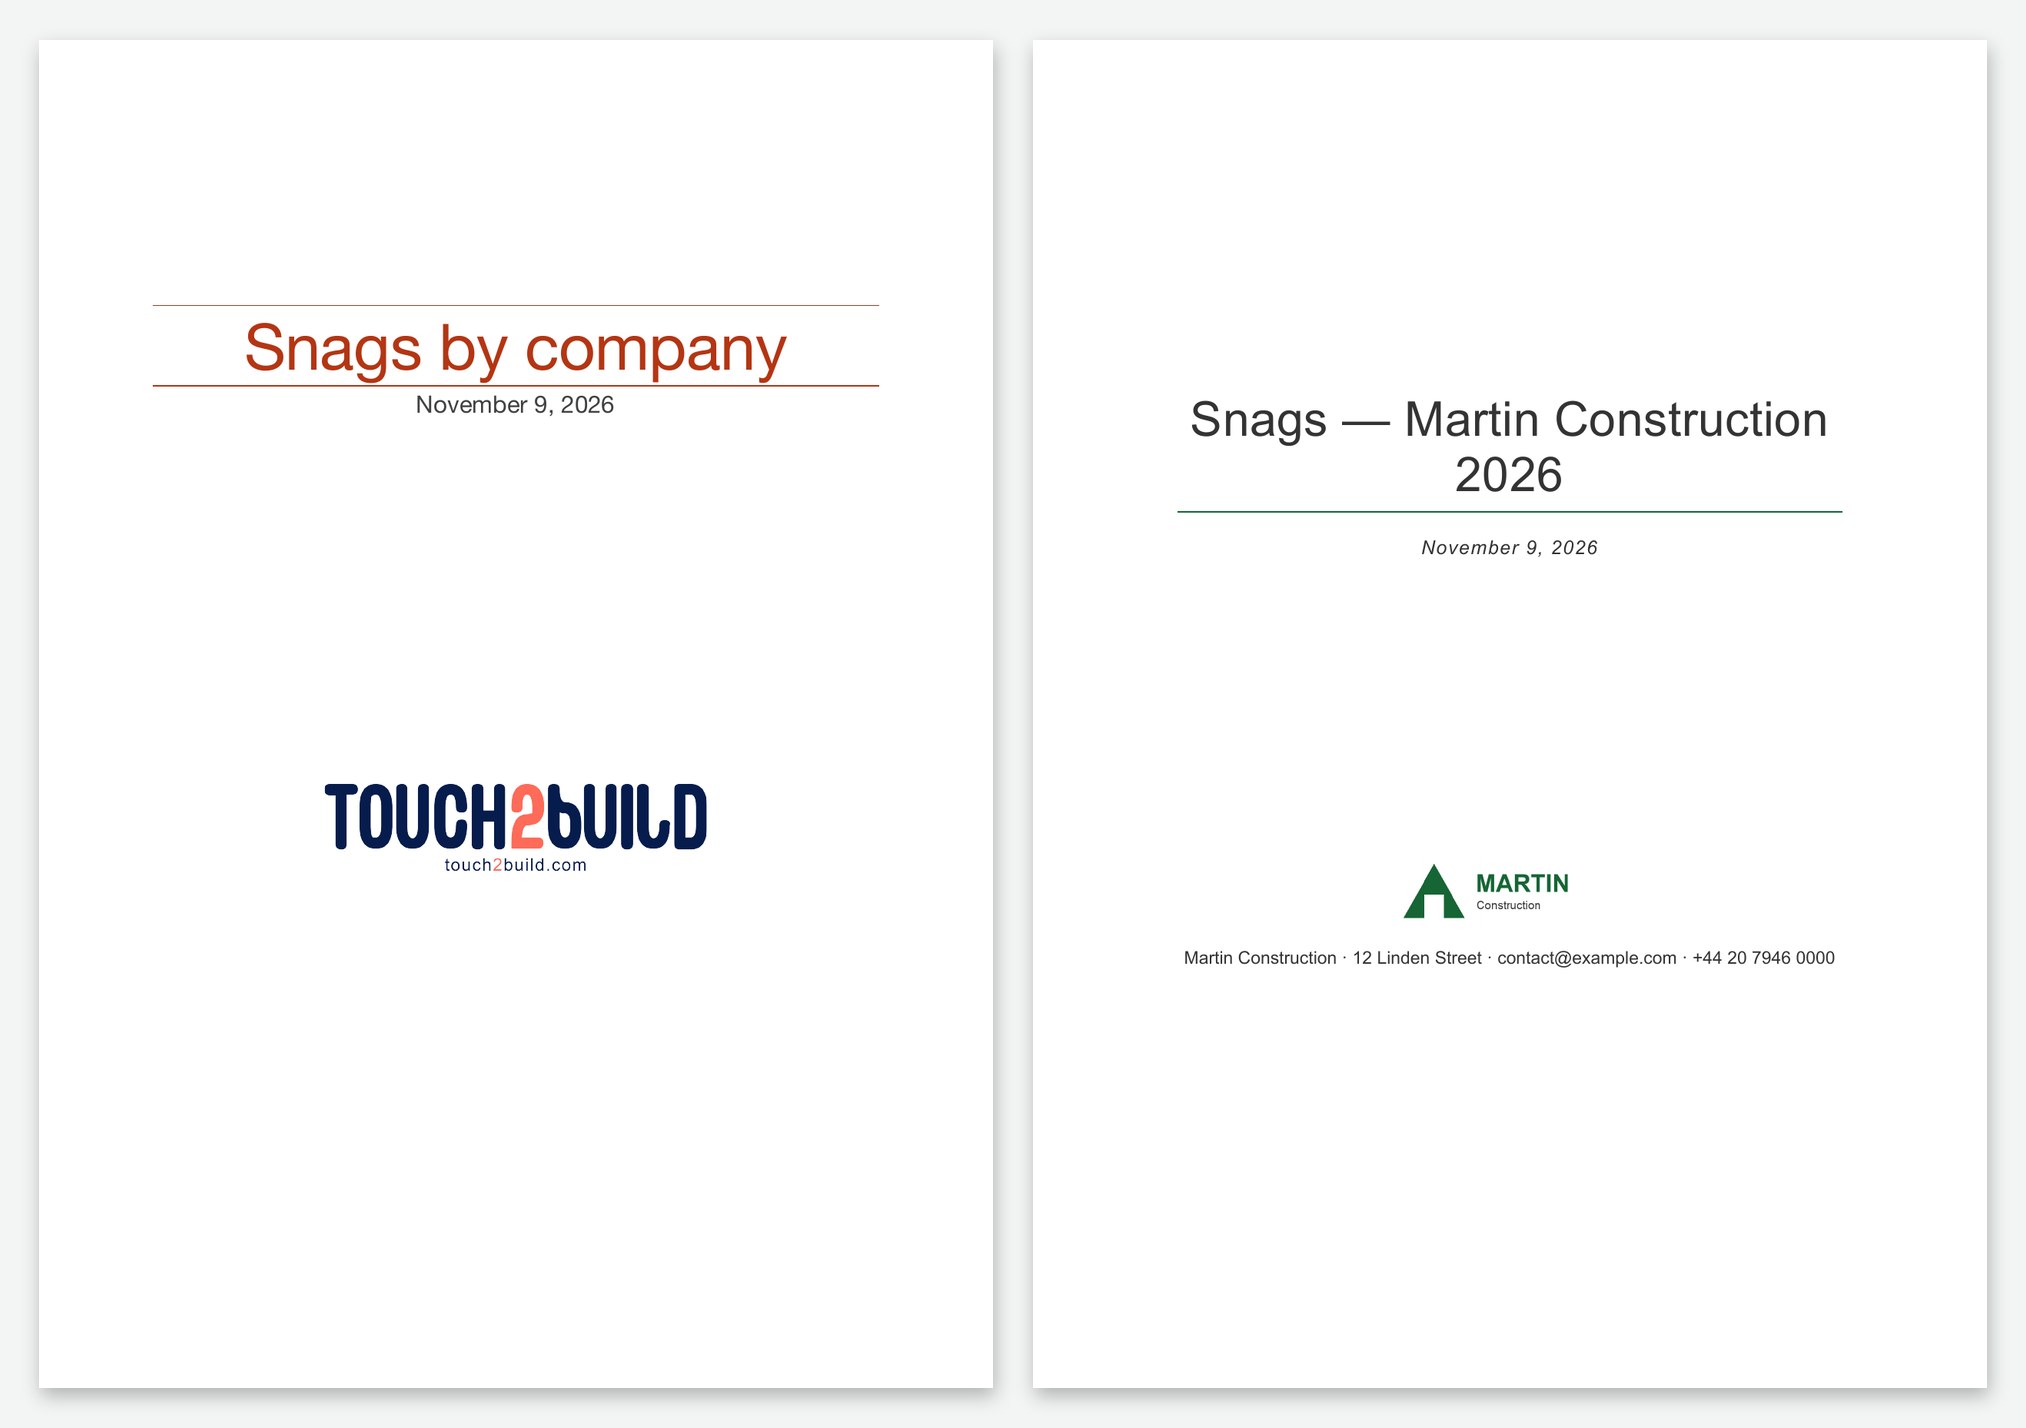
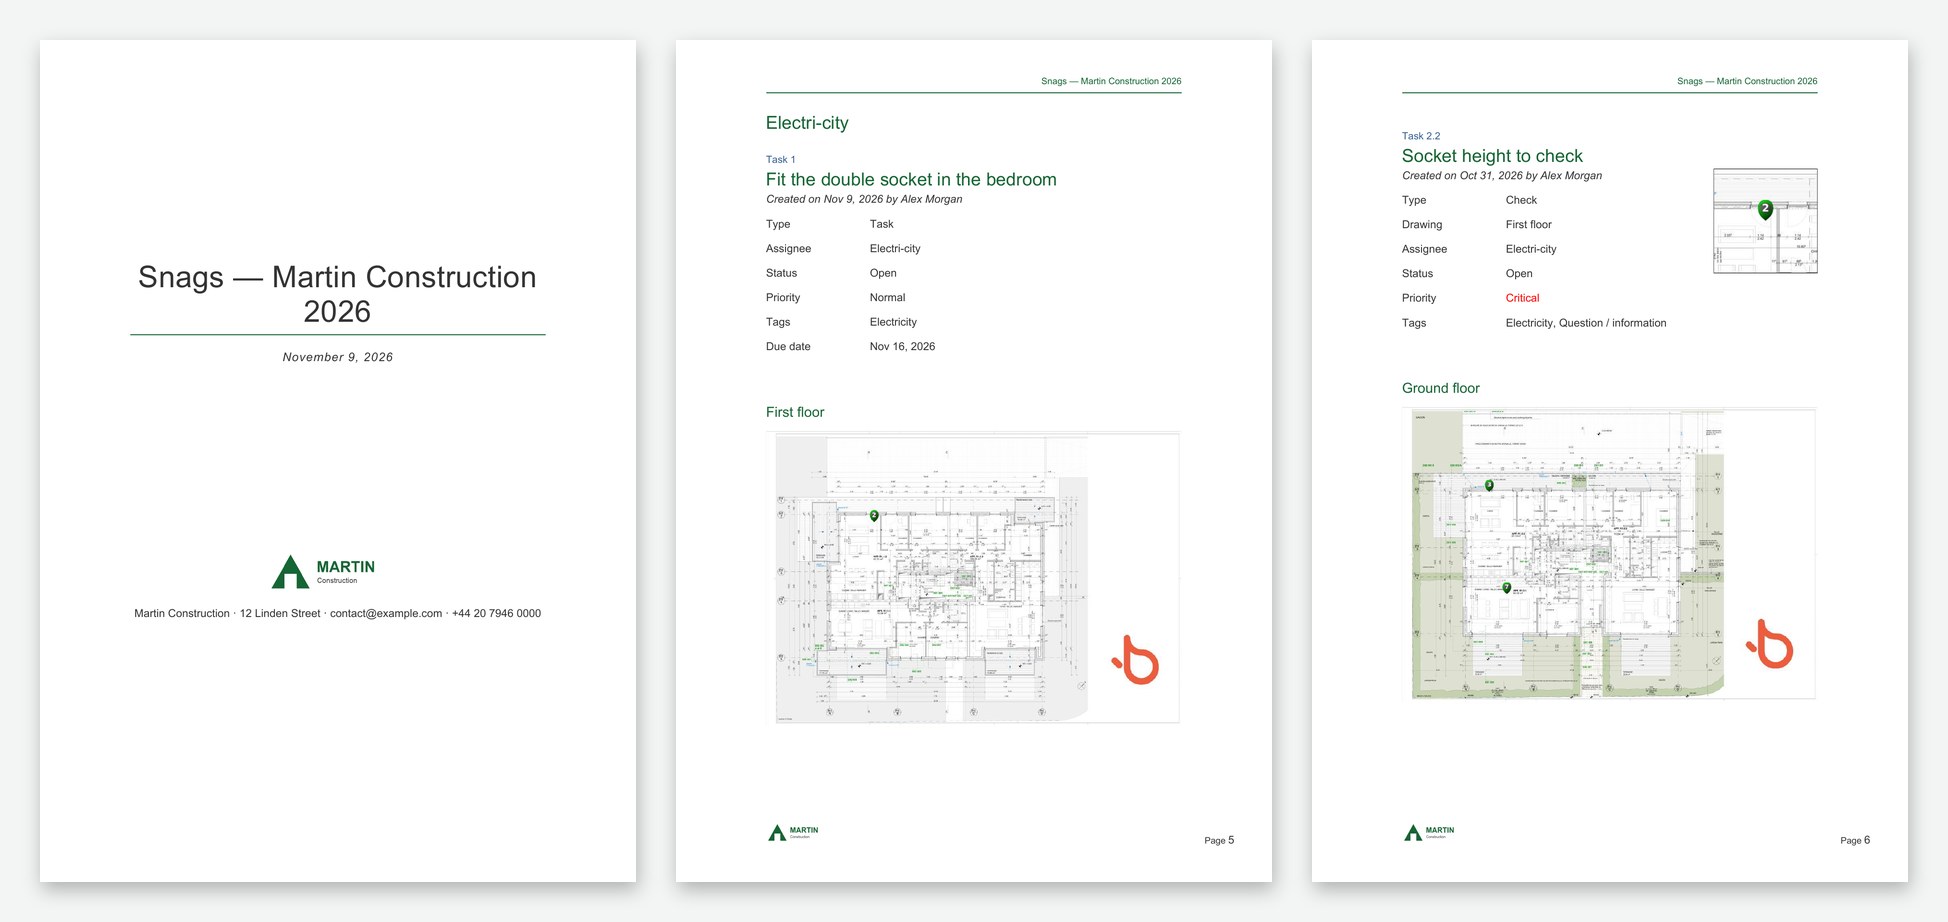
The result, with the Touch2build template on the left and the template generated for the company on the right:
The company logo also appears in the footer of every page of the report:
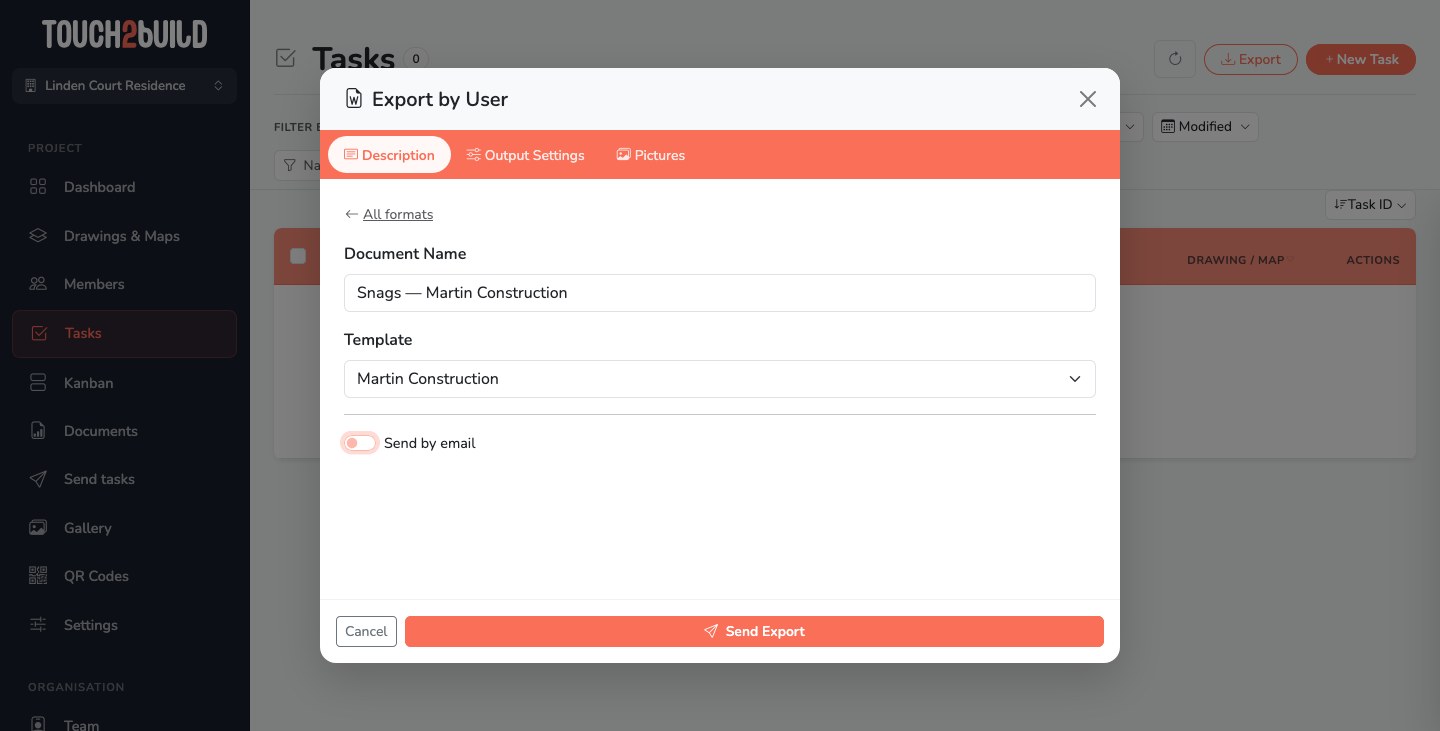
The template is then offered in the Template list of each export:
Create a template from your Word document
Activation
This feature is activated on request to support.
Do you already have Word reports in your own layout? Touch2build can build a template from one, with no editing in Word.
- In the Word card, click From your Word document.
- Enter the Template name.
- Drop one of your Word documents (.docx), for example an old report or minutes.
- Click Make the template. Reading takes a few seconds.
Touch2build keeps from your document:
- the cover page, with your logo and contact details;
- the headers and footers;
- your styles, fonts and colours.
The content after the cover page is removed: this is where the report is written. The title and date of your old document are replaced by those of each new report. The task sheets, titles and tables of the report take your fonts and colours.
The window sums up what was picked up: cover page, fonts and colours. Download the template with the icon to check it, and adjust it in Word if needed.
Reading the document
The document is read on our servers. The text of its first pages, headers and footers is sent to Mistral AI (EU) to find the cover page, the title and the date. The file itself is not sent.
Use your own Word template
Do you already have a minutes template? Import it with Add. A Touch2build template is an ordinary Word document, with headers, footers, logo and styles. It contains a few keywords that Touch2build replaces at export time:
| Keyword | Replaced by |
|---|---|
${body} |
The content of the report: drawings and task sheets. Put it alone on a line, where the report must start. |
${reportname} |
The Document Name entered at export. |
${date} |
The date of the export, for example 14 October 2026. |
${reportname} and ${date} also work in headers and footers.
The report titles use the Heading 1, Heading 2… styles of your document: edit these styles in Word to change how the titles look.
Start from a generated template
The quickest way to get a tailor-made template:
- Generate a template with the Wizard.
- Download it.
- Adjust it in Word, for example by adding your contact details in the footer.
- Import it again with Add.
The keywords are already in place.
Templates added here only apply to this project. The shared templates of your organisation are available in all projects. Administrators find them in the Organisation › Shared Templates menu.