Create a project
A project corresponds to one construction site. It gathers the drawings, members and tasks of that site. It is the starting point: until the project exists, the field team cannot record any task.
The creation wizard guides you in four steps: Details, Team, Drawings and Done.
Who can create a project?
You need the Project Creator or Client Admin role in your organisation.
To start the wizard:
- the first time you sign in, click Create a Project in the Start Fresh card;
- after that, click New project on the home screen, then Blank project.
The video shows the wizard from start to finish. Each step is detailed below.
Step 1: Details
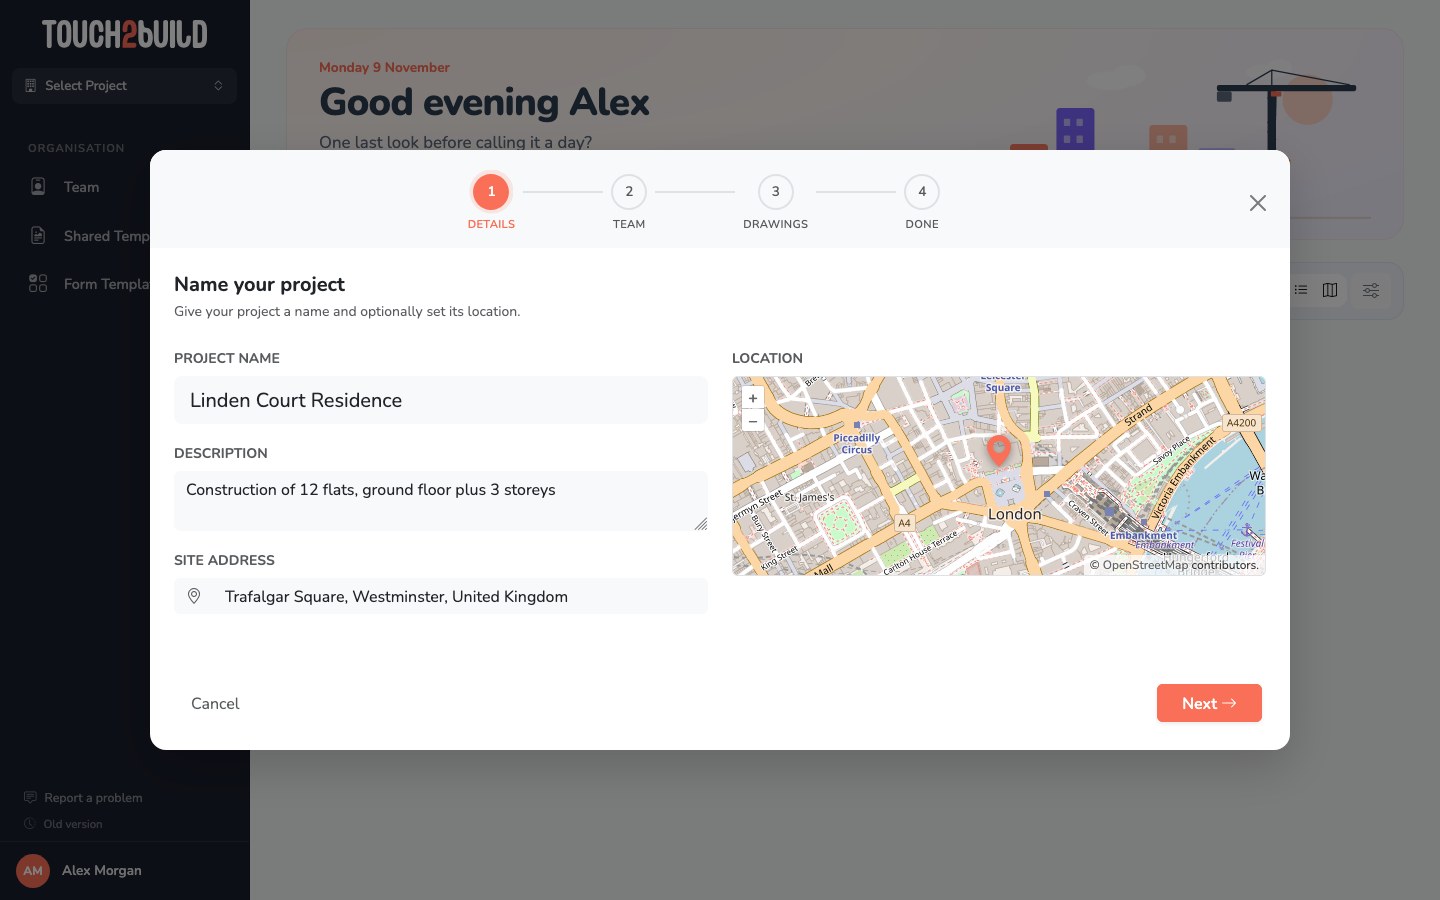
- Enter the Project Name, for example Les Tilleuls Residence. This is the only required field.
- If you wish, add a short Description: type of building, number of dwellings, phase…
-
In Site Address, type the address, then choose it from the list that appears.
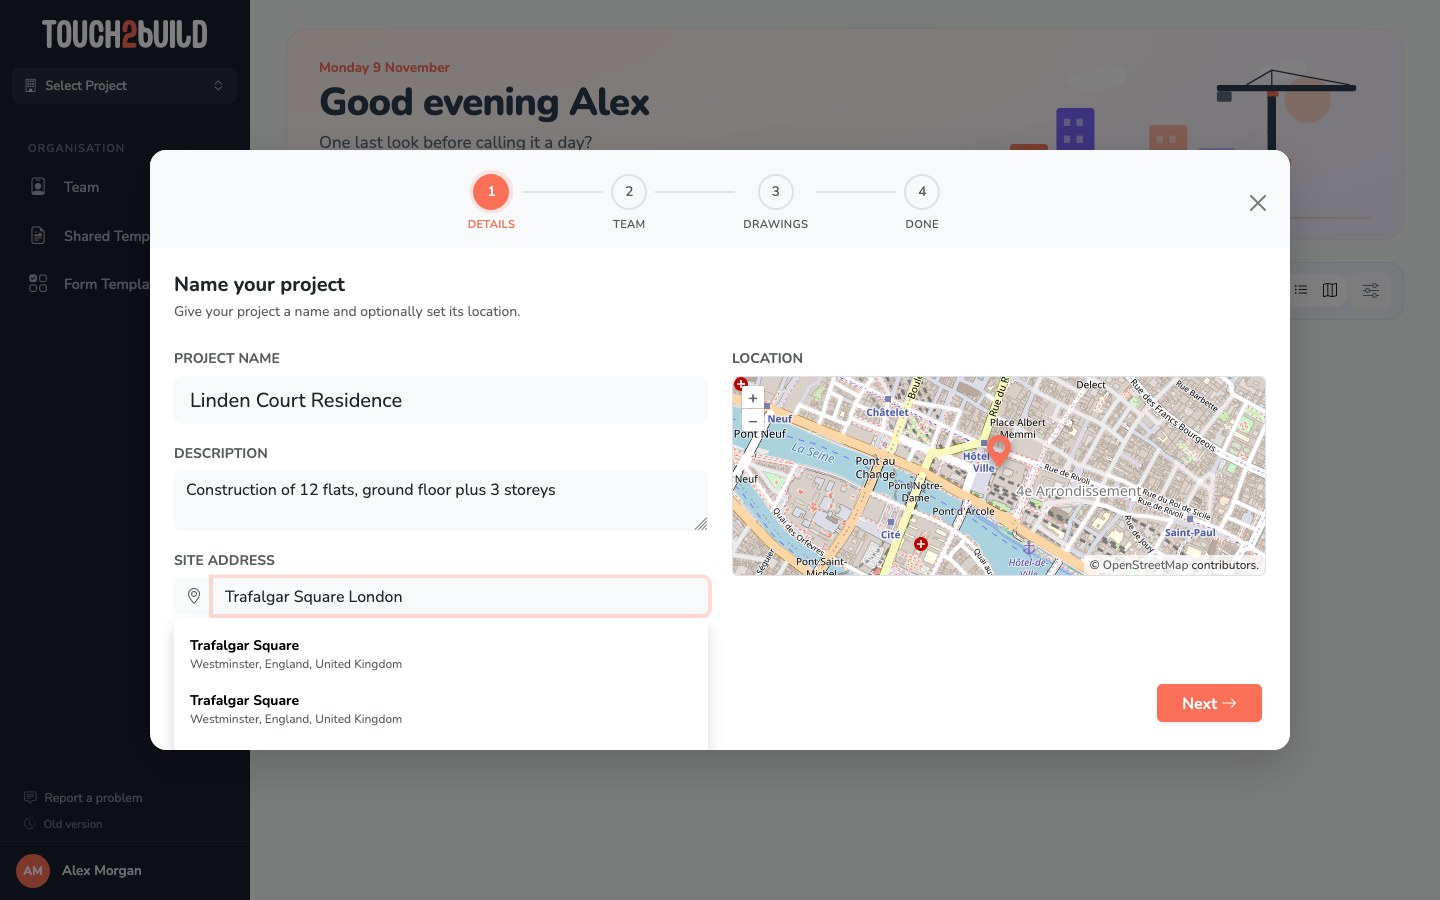
The Location map centres on the chosen address. Touch2build also uses it to suggest a cover photo for the project.
-
Click Next.
Step 2: Team
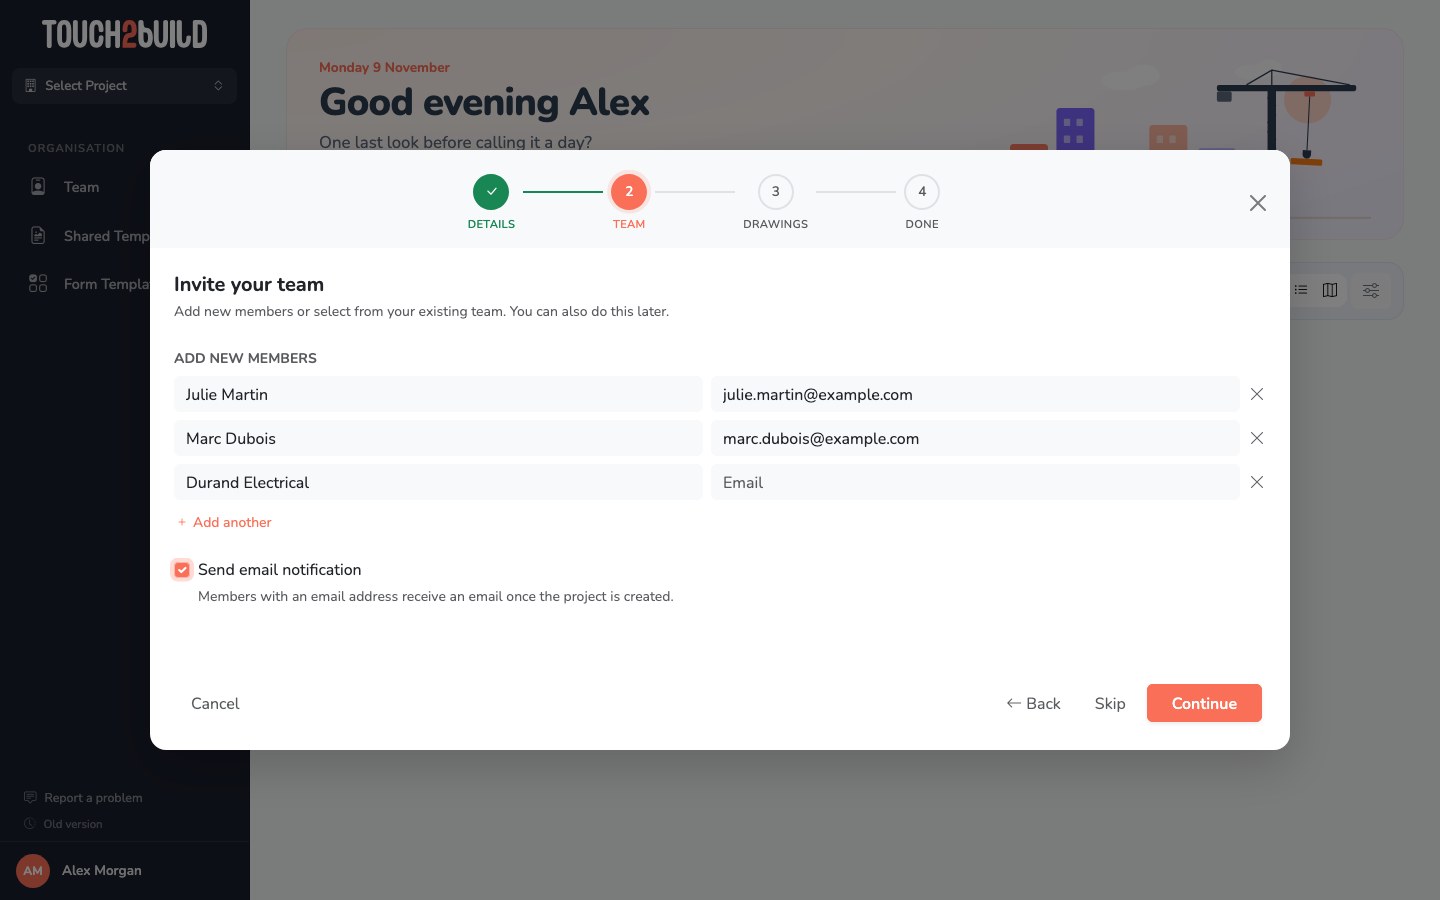
Add the people who will work on the site:
- Enter the Name and Email of the first person.
- Click Add another to add a row, then repeat.
- To remove a row, click the cross at the end of the row.
- Tick Send email notification if you want to notify the members. The e-mail is sent at the end of the creation, once the drawings are imported.
- Click Continue.
The e-mail is only sent to members who have an address. A member without an e-mail address, such as a subcontracting company, is only used to assign tasks.
Notify now or later?
Members added here start with minimum permissions: they only see their own tasks. If you want to set their permissions first, leave the box unticked and tell them yourself afterwards. To sign in, they create their Touch2build account with the same e-mail address.
You can also click Skip and add the members later.
Step 3: Drawings
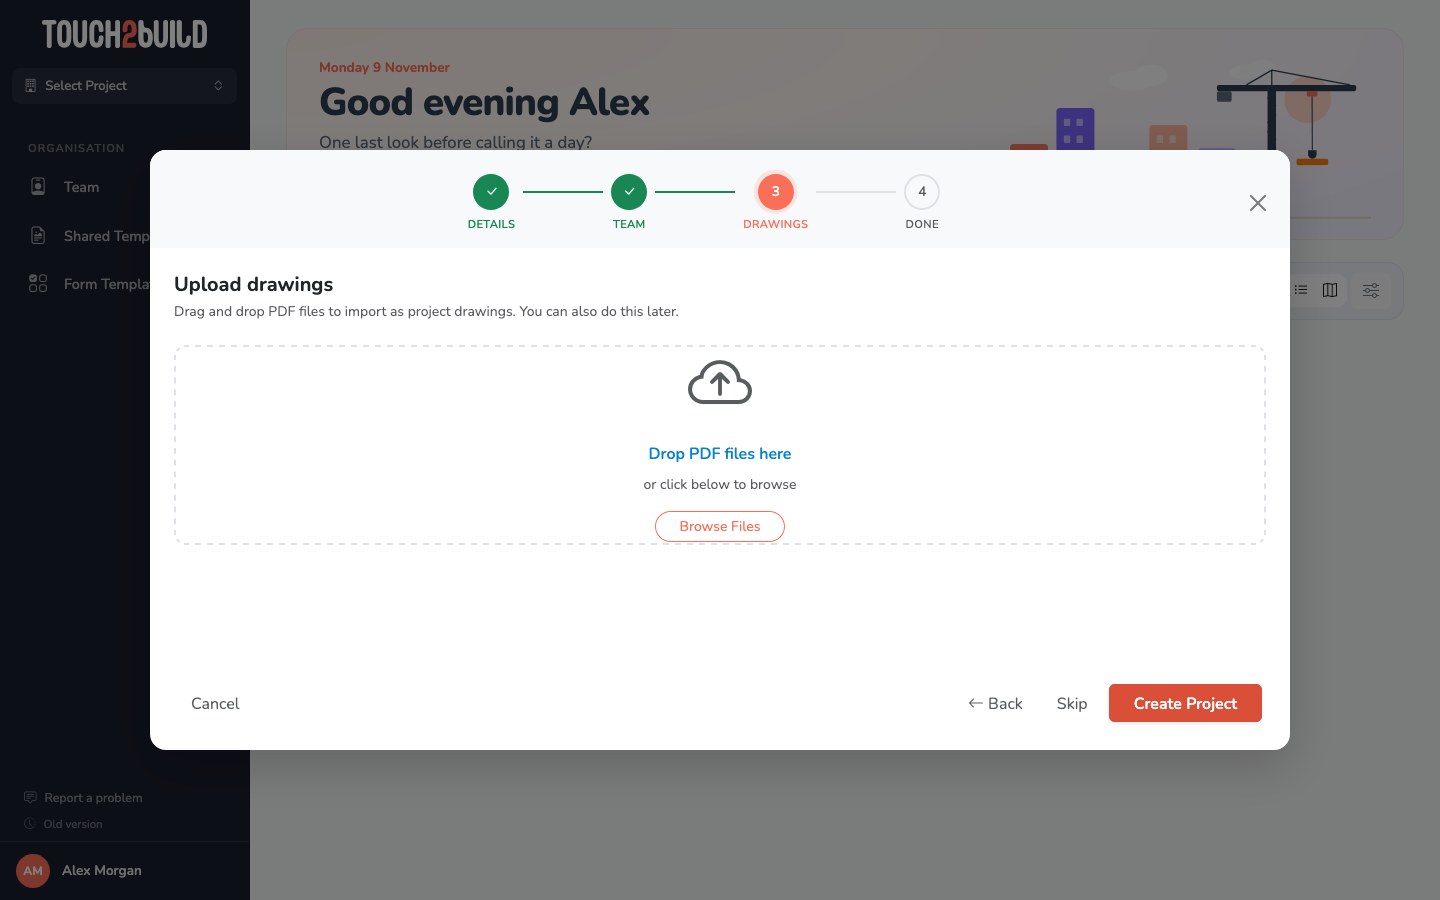
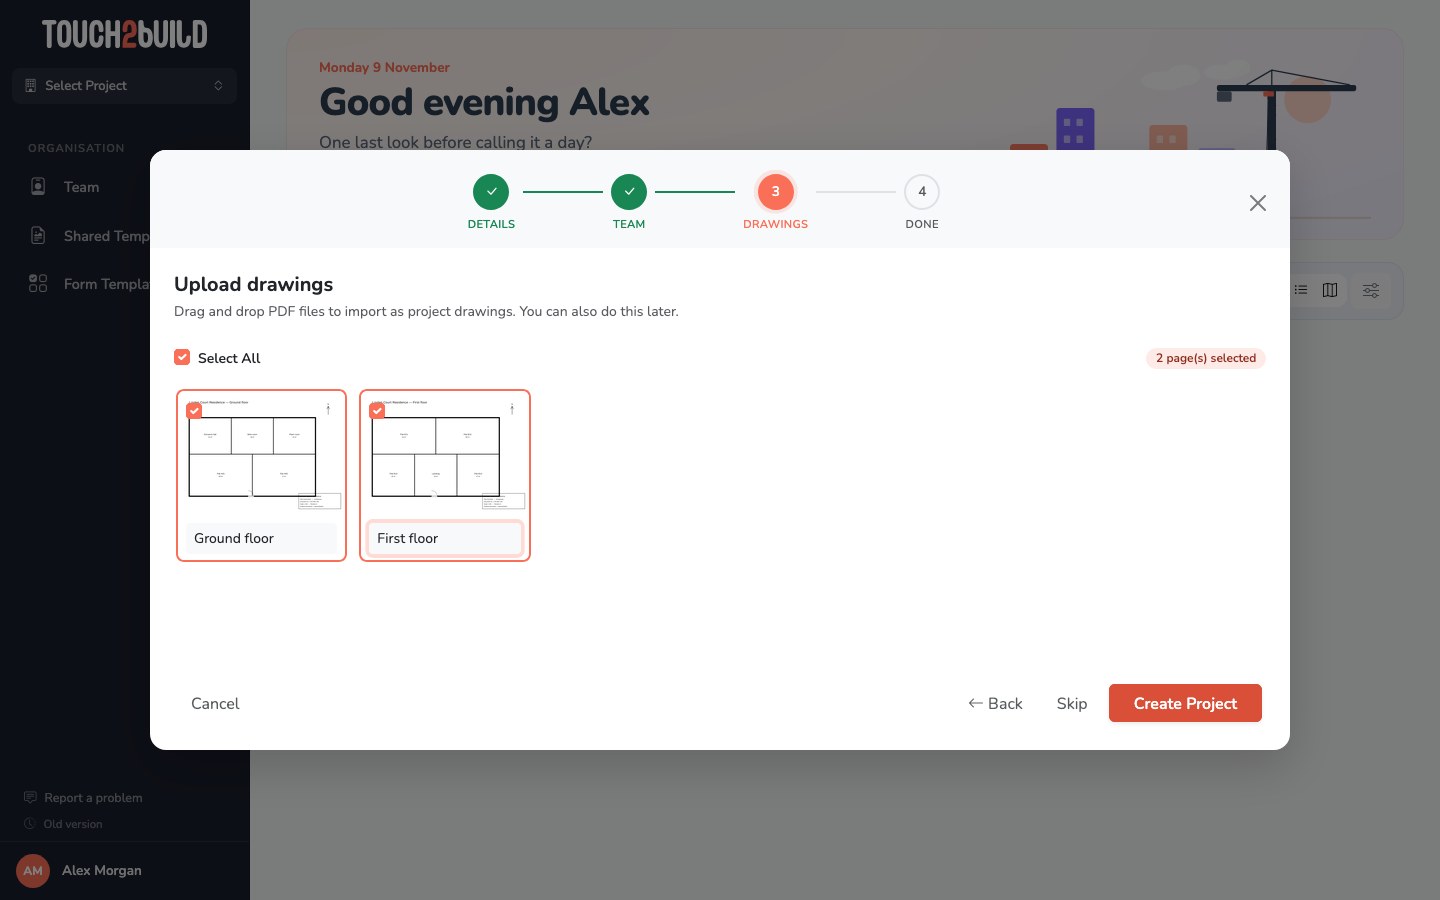
- Drag your PDF files into the Drop PDF files here area, or click Browse Files.
- Each page of the PDFs becomes a drawing. Untick the pages you do not need, such as a cover page or a schedule.
-
Click below each preview to give the drawing a clear name, for example Ground floor or Level 1.
-
Click Create Project.
Only PDF files are accepted
Other files are ignored. If your drawing is a DWG, export it to PDF from your drawing software first.
Do not have the drawings yet? Click Skip. You can add them later from Drawings & Maps.
Step 4: Done
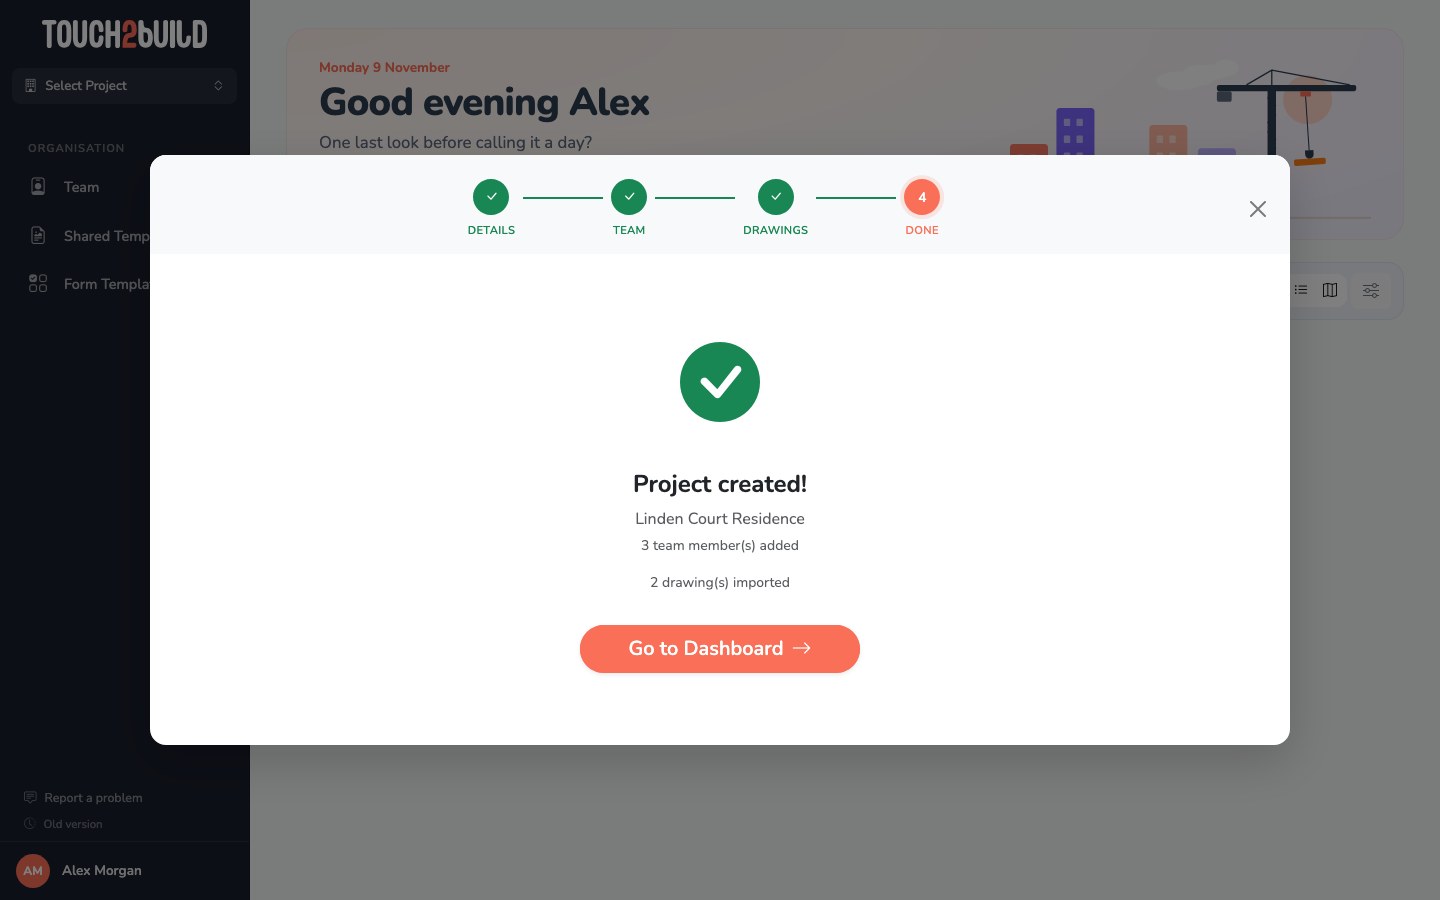
Touch2build shows the number of members added and drawings imported. If you ticked the notification box, it also shows how many members were notified by e-mail. Click Go to Dashboard to enter the project.
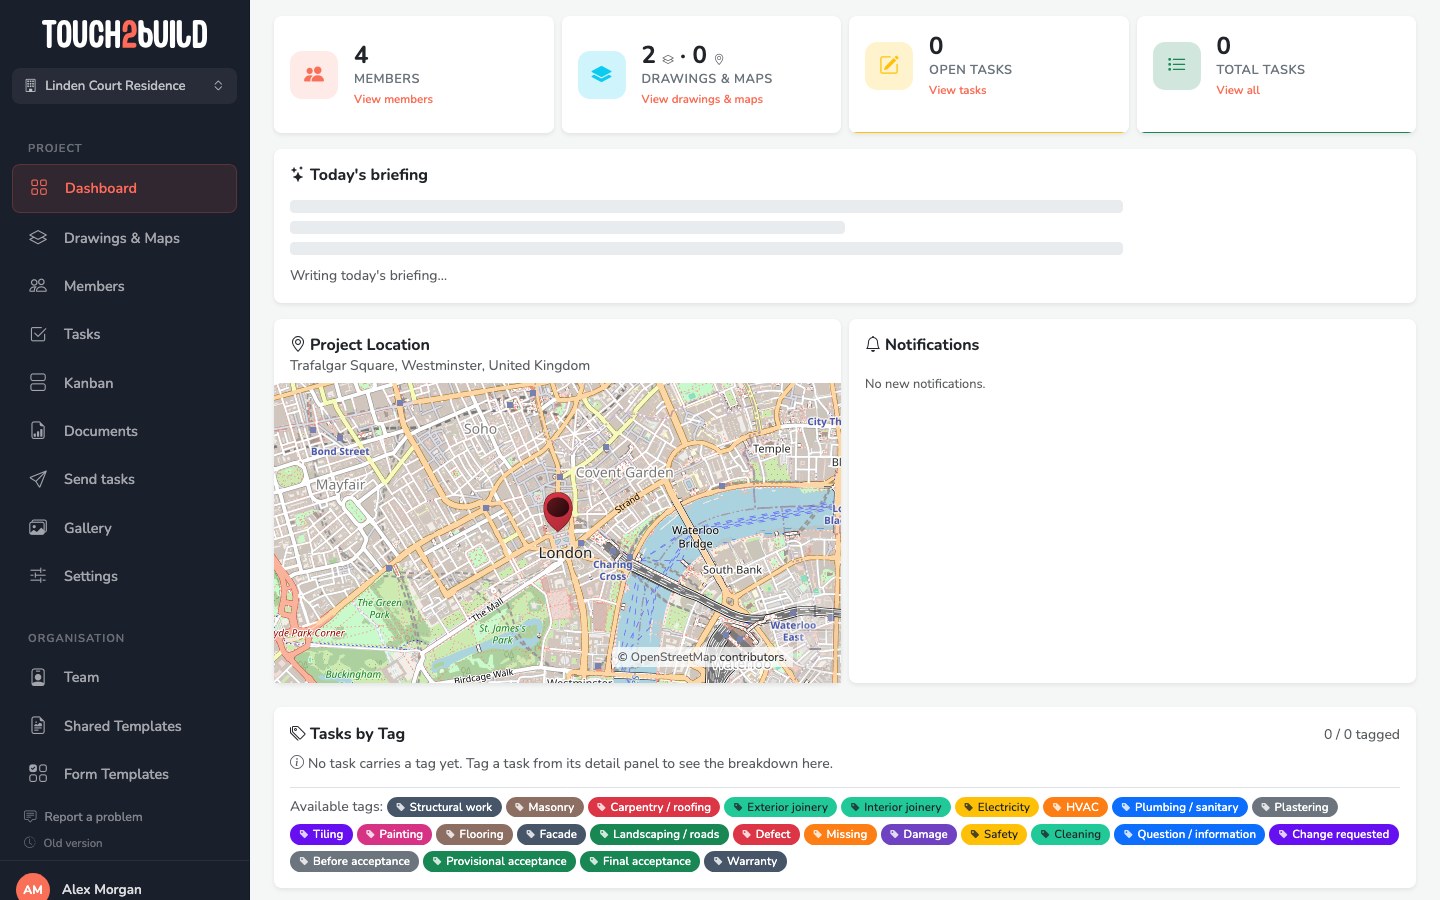
What next?
Members added in the wizard have minimum permissions: they only see their own tasks. Go on to the next step and set their permissions.
Edit a project after creating it
The information entered in the wizard can still be edited in Settings:
- General Info: project name and summary;
- Site Location: address and position on the map;
- Visuals: the project's cover photo.